If you own a Dell XPS 8100 desktop computer, you may need to remove the battery from the motherboard at times for maintenance or upgrades. Removing the battery is a straightforward process and can be accomplished with ease. In this article, I will provide you with a step-by-step guide on how to remove the battery from your Dell XPS 8100 desktop computer.
First, it’s important to note that the battery on the Dell XPS 8100 desktop computer is a small, silver, coin-shaped battery located on the motherboard. To remove it, you will need a flathead screwdriver or a similar tool. Start with turning off your computer and unplugging all cables from the back. Then, you should find an access point to the motherboard. The most common location for the battery on a motherboard is near the edges of the board or near the PCI slots.
Once you have accessed the motherboard, locate the battery. Gently press the locking tab to one side, which will release the battery. The battery should pop up slightly, you can then lift it out from its socket. Make sure you don’t apply too much pressure as this can damage the motherboard. After removing the battery, wait for a few moments before placing it back into the socket. Carefully place the battery back onto the motherboard, and ensure it is secured properly by locking the tab in place. Finally, you can plug your computer back into the power supply and turn on the computer.
Locating the Battery on Dell XPS 8100
If you’re wondering how to remove the battery from your Dell XPS 8100 desktop computer, the first step is to locate it. The battery on the XPS 8100 is a small, silver, disc-shaped CMOS battery, which is responsible for powering the computer’s BIOS settings when the computer is turned off.
To locate the battery, you’ll need to open the computer tower. First, ensure that the computer is turned off and unplugged from the wall. Then, remove any external cables and devices that may be connected to the computer, and set them aside.
Next, locate the release latch on the back of the computer tower. The latch is a small lever that can be pressed to release the side panel of the tower. Press the latch and slide the side panel away from the computer to expose the internal components.
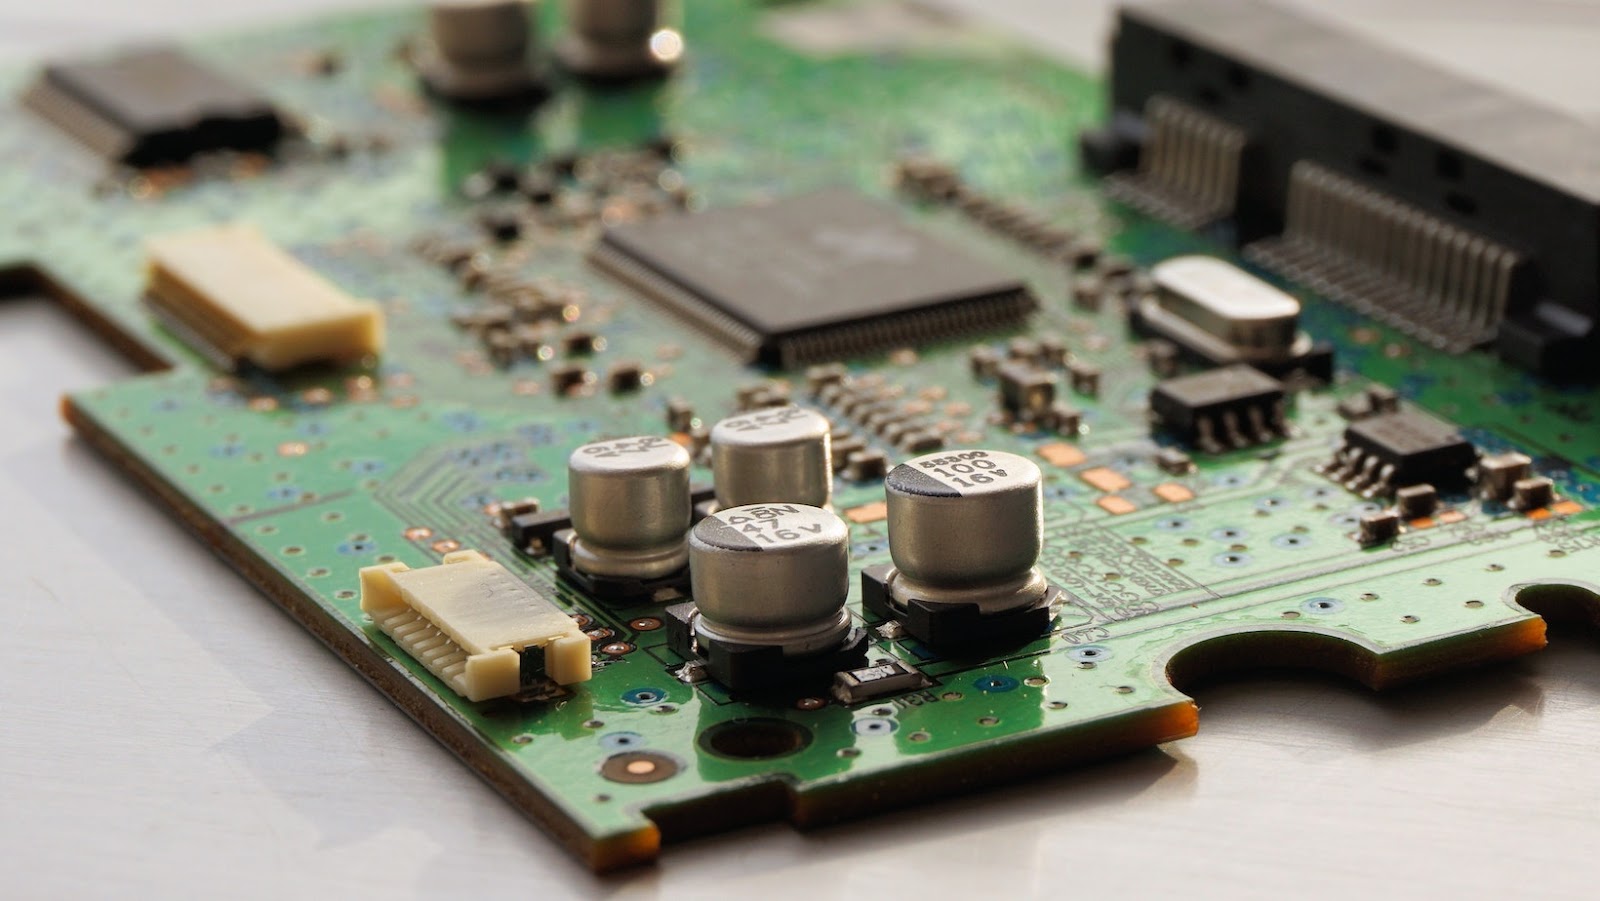
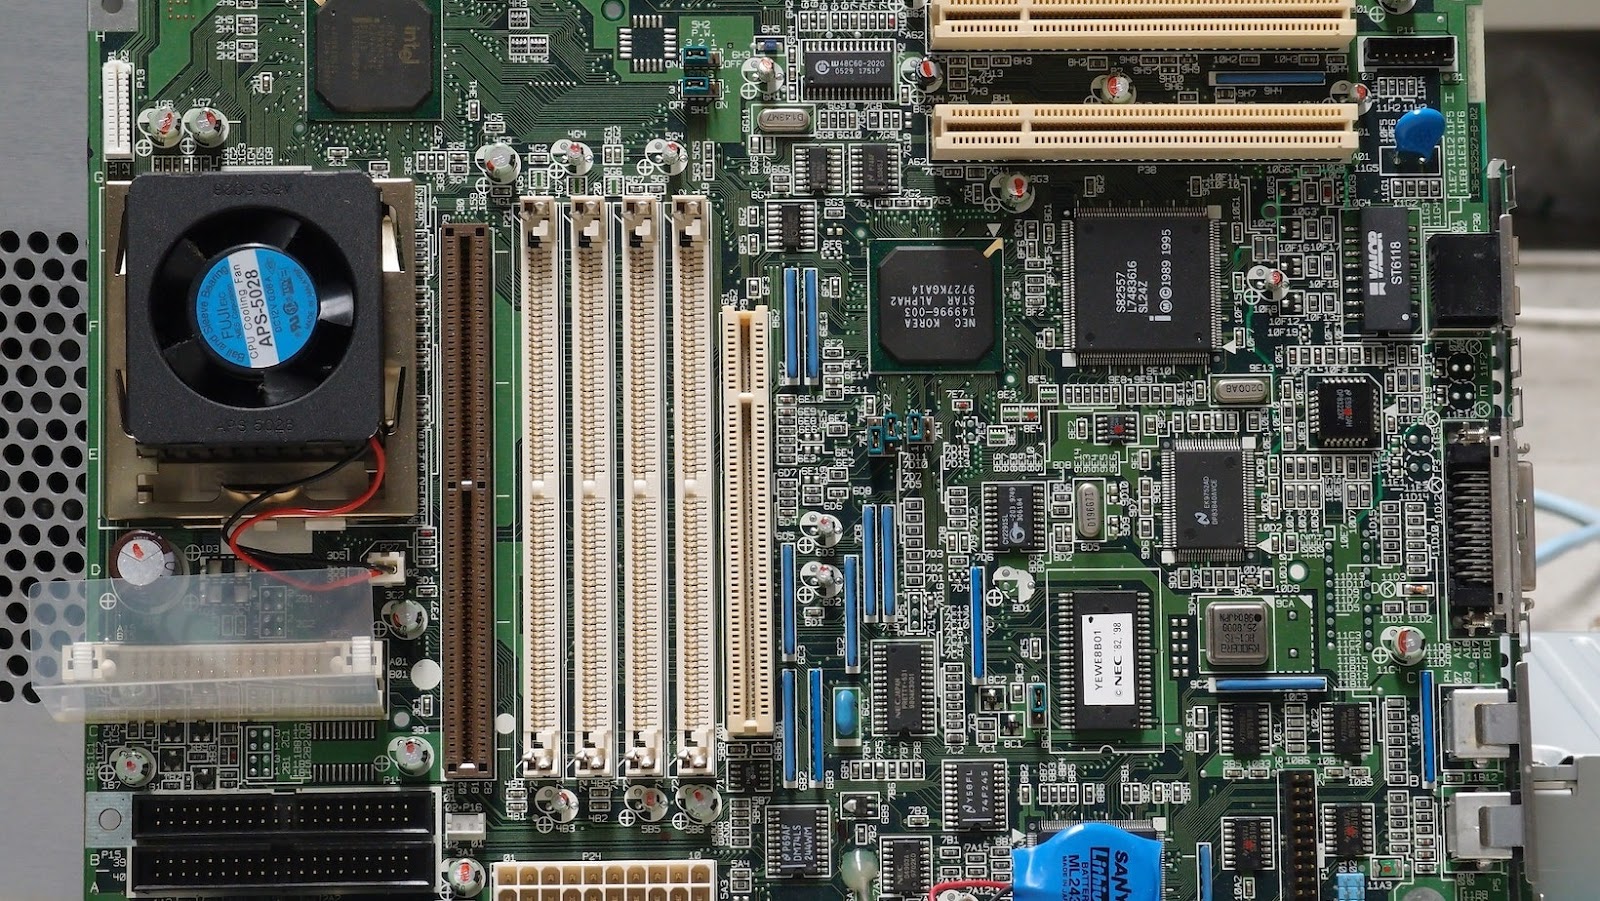
Once the side panel is removed, you should be able to see the battery. It will be located on the motherboard, which is the large circuit board that runs down the center of the tower. Look for a small, silver battery about the size of a quarter.
It’s important to note that the battery is attached to the motherboard with a small clip. To remove the battery, gently push the clip away from the battery and lift the battery out of its holder. Be careful not to damage any other components while working inside the computer.
With the battery removed, you can replace it with a new one or simply leave it out if you no longer need to retain BIOS settings. When you’re done, replace the side panel of the tower and reattach any external devices and cables.
That’s all there is to it! With these steps, you can easily locate and remove the battery from your Dell XPS 8100 desktop computer.
Removing the Dell XPS 8100 battery
If you need to remove the battery from your Dell XPS 8100 desktop computer, it’s a fairly simple process. It’s important to know how to do this in case the battery needs to be replaced, or if you need to troubleshoot other hardware issues.
how to remove battery from dell xps 8100 desktop computer
Here are the steps for removing the battery from a Dell XPS 8100:
1. Determine the type of battery: The battery on a Dell XPS 8100 is a standard 3V CR2032 Lithium battery. Ensure that you have the correct replacement battery before proceeding.
2. Prepare the computer: Make sure that your Dell XPS 8100 desktop computer is turned off and that it’s unplugged from any power source. You should also make sure that any peripherals are disconnected from the computer.
3. Locate the battery holder: The battery holder on a Dell XPS 8100 is located on the motherboard and is easily identifiable. It’s usually a small silver or black cylinder with a clip across the top holding the battery in place.
4. Remove the battery: Using a flat head screwdriver or your fingernail, gently lift the clip holding the battery in place. Once the clip is lifted, remove the battery from the holder.
5. Install the new battery (optional): If you’re replacing the battery, simply insert the new battery into the battery holder with the same orientation as the one you removed. If you’re not replacing the battery, skip to the next step.
6. Replace the clip: Once the new battery is inserted (if replacing), securely fasten the clip across the top of the battery holder to hold the battery in place.
7. Reassemble the computer: Once the battery is replaced (if needed), close up the computer case and reconnect any peripherals. Plug in the computer and turn it on to ensure that the battery is functioning properly.
Removing the battery from a Dell XPS 8100 desktop computer is a straightforward process that can be done quickly and easily with the right tools and preparation. By following these steps, you can safely remove and replace the battery to keep your computer functioning properly.

Safety measures when removing the battery
Before removing the battery from your Dell XPS 8100 desktop computer, it’s important to take some safety measures to prevent any damage to yourself or your computer. Here are a few things to keep in mind:
1. Turn off your computer and unplug it from the power source. This will ensure that there is no electrical current going through your computer and that you won’t accidentally shock yourself.
2. Wear an antistatic wristband. This will prevent any static electricity from your body from damaging the delicate computer components.
3. Locate the battery. The battery in the Dell XPS 8100 is typically located on the motherboard, so you’ll need to open up your computer’s case to access it.
4. Identify the battery type. The Dell XPS 8100 uses a CR2032 3V battery, which is a common type of button battery used in computers.
5. Remove the battery carefully. Once you’ve located the battery and identified the type, you can remove it by gently pressing down on the locking clip and lifting the battery out.
6. Dispose of the battery safely. Since the battery contains lithium, it’s important to dispose of it safely. You can take it to a local electronics recycling center or contact your local waste disposal facility to find out how to dispose of it properly.
By following these safety measures, you can safely remove the battery from your Dell XPS 8100 desktop computer without causing any damage to yourself or your computer. Remember to always take precautions when working with computers and electronics to ensure your safety and the longevity of your devices.

Conclusion
Removing the battery from a Dell XPS 8100 desktop computer might seem like a daunting task, especially if you’re not familiar with computer hardware. However, with the right tools and a bit of patience, it’s a relatively easy process that you can do on your own. Here are a few key takeaways from this tutorial on how to remove a battery from a Dell XPS 8100 desktop computer:
1. Safety first. Before you begin, ensure that your computer is powered off and disconnected from any power sources. Wear an anti-static wrist strap to prevent any potential electrostatic discharge that could damage your computer’s internal components.
2. Locate the battery. The battery in your Dell XPS 8100 desktop computer is usually located near the bottom of the computer’s motherboard. Refer to the computer manual or online documentation for more information.
3. Remove the battery. Use a screwdriver to loosen the screws that hold the battery in place. Gently lift the battery out of its compartment.
4. Replace the battery. If you’re replacing the battery, insert the new battery into the compartment and tighten the screws. If you’re not replacing the battery, skip this step.
5. Close up the computer. Finally, reattach any cables or components that were removed in the process of removing the battery. Power on your computer and verify that it’s working properly.
Removing the battery from a Dell XPS 8100 desktop computer shouldn’t take more than a few minutes, but it’s important to take your time and be deliberate in your actions. Doing so will help ensure that you don’t damage any of your computer’s internal components, and that the process goes smoothly. If you’re still unsure about how to remove the battery, don’t hesitate to seek assistance from a knowledgeable friend or computer repair shop.